/ Blog Details
29 Mar 2024
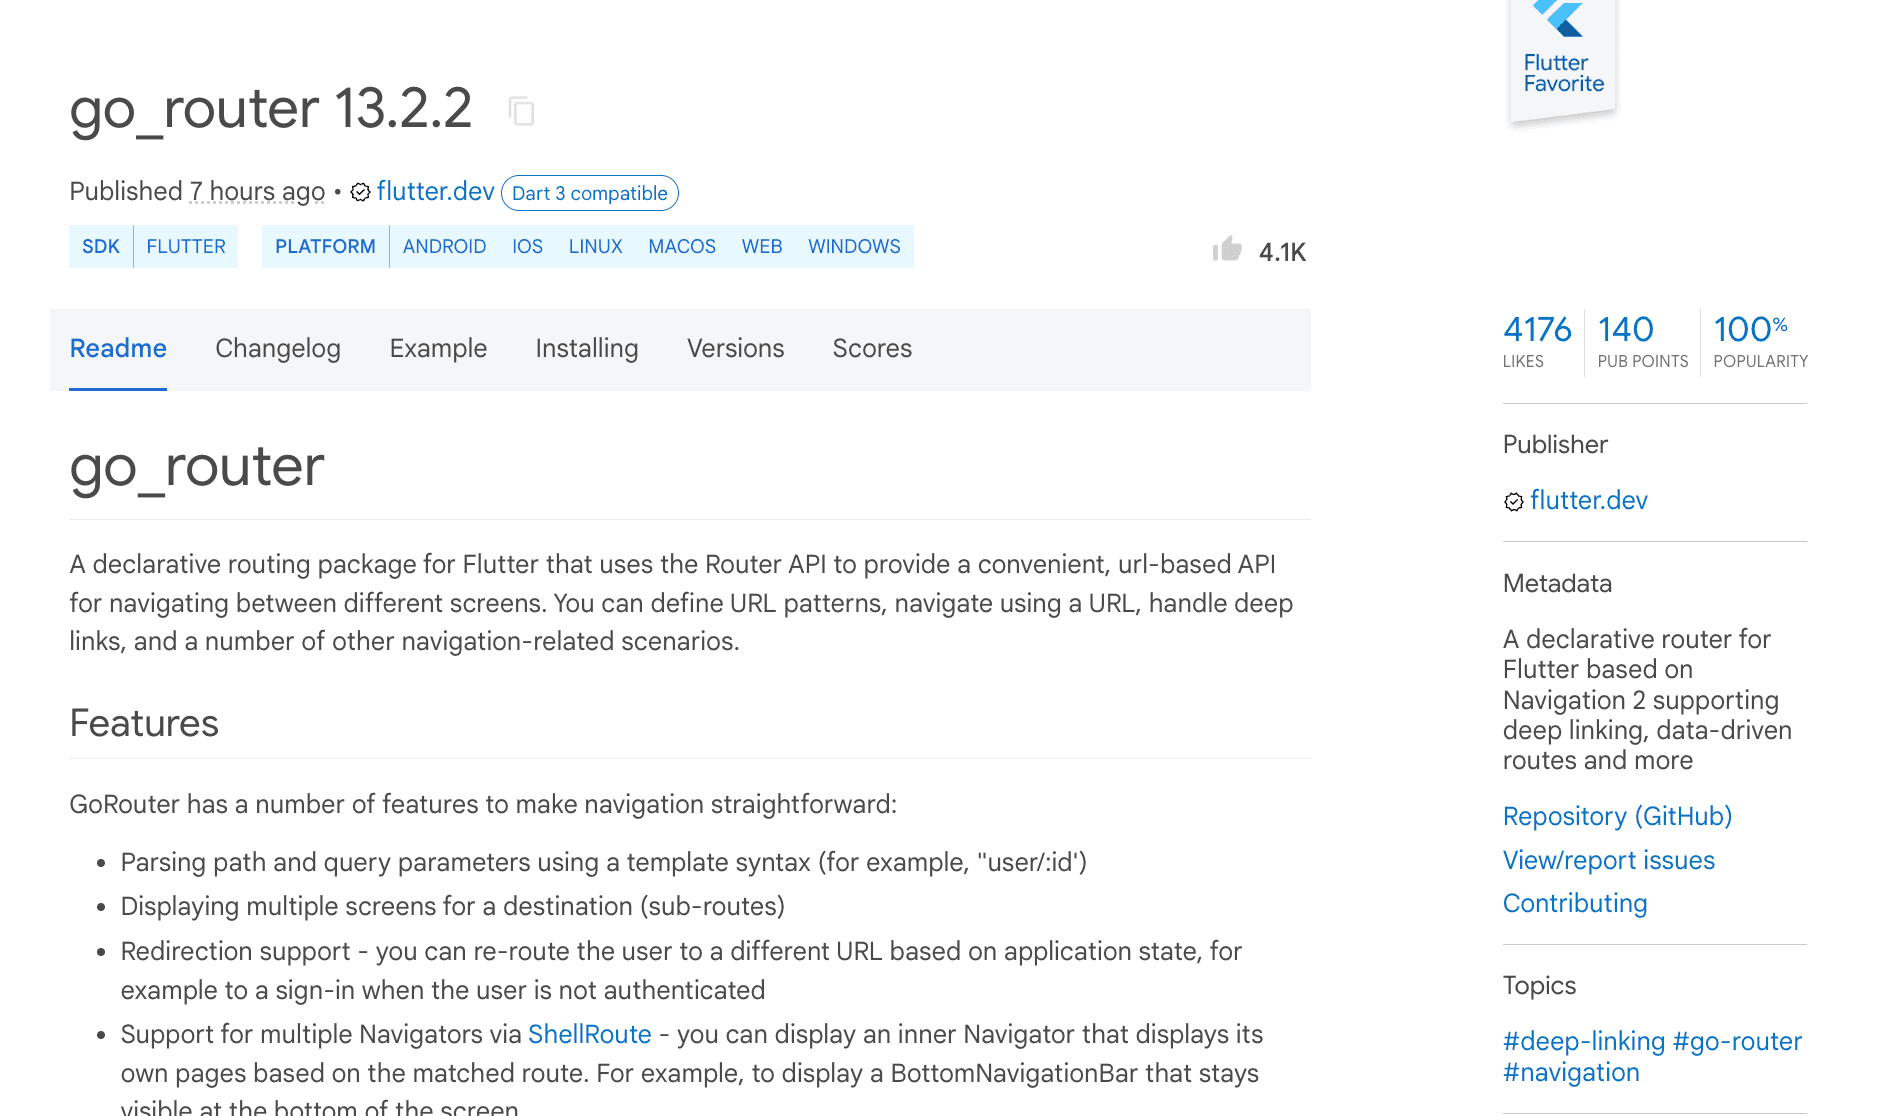
Navigating through Flutter apps can sometimes be complex, especially for beginners. Enter GoRouter – a powerful package built on the Navigator 2.0 API, designed to simplify routing and deep linking in Flutter applications. Let's explore how GoRouter can streamline your navigation needs.
dependencies:
go_router: ^13.2.0
After doing that, let's add GoRouter configuration to your app:
import 'package:go_router/go_router.dart';

// GoRouter configuration
final _router = GoRouter(
  initialLocation: '/',
  routes: [
   GoRoute(
          path: 'login',
          builder: (BuildContext context, GoRouterState state) => LoginScreen(),
        ),
        GoRoute(
          path: 'signup',
          builder: (BuildContext context, GoRouterState state) =>
              SignupScreen(),
        ),
        GoRoute(
          path: 'edit',
          builder: (BuildContext context, GoRouterState state) =>
              const EditProfilePage(),
        ),
  ],
);
Then we can use either the MaterialApp.router or CupertinoApp.router constructor and set the routerConfig parameter to your GoRouter configuration object:
class MyApp extends StatelessWidget {
  @override
  Widget build(BuildContext context) {
    return MaterialApp.router(
      routerConfig: _router,
    );
  }
}
That’s it 🙂 you’re ready to play around with go_router !!!
Navigating through screens in a Flutter application becomes seamless with GoRouter. This advanced routing library simplifies parameter handling and navigation between screens. Here’s how to leverage path parameters and child routes for an intuitive navigation experience.
Path parameters allow dynamic screen transitions based on user data. To define a path parameter, prefix the segment with a : followed by a unique name. Access this parameter within your route builder using the GoRouterState object:
GoRoute(
  path: '/fruits/:id',
  builder: (context, state) {
    final id = state.pathParameters["id"]!; // Retrieve the "id" parameter from the URL
    return FruitsPage(id: id);
  },
),
GoRouter supports child routes, enabling the display of multiple screens within a Navigator stack. This is akin to pushing a new screen on top of another, complete with an in-app back button. Define child routes within the parent route to create this structure:
GoRoute(
  path: '/fruits',
  builder: (context, state) {
    return FruitsPage();
  },
  routes: <RouteBase>[ // Define child routes here
    GoRoute(
      path: 'fruits-details', // Note: No need for a leading "/" in child paths
      builder: (context, state) {
        return FruitDetailsPage();
      },
    ),
  ],
)
GoRouter enhances the user experience in Flutter applications by offering multiple methods for navigating between screens. Below are the key techniques to achieve smooth screen transitions:
Navigate directly to a new screen by using the context.go() method with a URL. Here's how to implement this approach:
build(BuildContext context) {
  return TextButton(
    onPressed: () => context.go('/fruits/fruit-detail'),
  );
}
For a more readable and maintainable codebase, GoRouter allows navigation by route names with the context.goNamed() method. Remember to name your routes for this to work:
 build(BuildContext context) {
  return TextButton(
    onPressed: () => context.goNamed('fruit-detail'), // Ensure your routes are named
  );
}
Dynamic navigation based on parameters can be achieved by constructing URIs using the Uri class. This method is particularly useful for passing data between screens:
  Uri(
    path: '/fruit-detail',
    pathParameters: {'id': '10'},
  ).toString(),
);
To return to the previous screen, use the context.pop() method. This is akin to the user pressing the back button in the navigation bar:
Use context.pop() to go back to the previous screen
In Flutter applications, implementing efficient and user-friendly navigation is crucial for enhancing user experience. GoRouter offers a sophisticated solution for nested tab navigation, allowing apps to maintain a persistent navigation state across different subsections of the screen. This guide explores the setup of nested navigation using the StatefulShellRoute, a powerful feature for creating apps with stateful nested navigation.
Nested navigation, particularly useful in apps with a BottomNavigationBar, requires maintaining a persistent navigation state for each tab. This is where StatefulShellRoute comes into play, enabling separate navigators for each nested branch (parallel navigation trees).
StatefulShellRoute.indexedStack() constructs a StatefulShellRoute that utilizes an IndexedStack to manage nested Navigators, providing an IndexedStack-based implementation for managing branch Navigators.
// Create keys for `root` & `section` navigator to avoid unnecessary rebuilds
final _rootNavigatorKey = GlobalKey<NavigatorState>();
final _sectionNavigatorKey = GlobalKey<NavigatorState>();

final router = GoRouter(
  navigatorKey: _rootNavigatorKey,
  initialLocation: '/home',
  routes: <RouteBase>[
    StatefulShellRoute.indexedStack(
      builder: (context, state, navigationShell) {
        // Return widget with custom shell, e.g., BottomNavigationBar.
        return ScaffoldWithNavbar(navigationShell);
      },
      branches: [
        // Define the route branch for the first tab
        StatefulShellBranch(
          navigatorKey: _sectionNavigatorKey,
          routes: <RouteBase>[
            GoRoute(
              path: '/shop',
              builder: (context, state) => const ShopPage(),
              routes: <RouteBase>[
                GoRoute(
                  path: 'detail',
                  builder: (context, state) => const FeedDetailsPage(),
                )
              ],
            ),
          ],
        ),
        // Define the route branch for the second tab
        StatefulShellBranch(routes: <RouteBase>[
          GoRoute(
            path: '/home',
            builder: (context, state) => const HomePage(),
          ),
        ])
      ],
    ),
  ],
);
This configuration sets up our router to create branches for nested navigation and returns a custom shell (like a BottomNavigationBar) to facilitate user interaction with different app sections.
Building the BottomNavigationBar with ScaffoldWithNavbar To complete our nested navigation structure, we implement a ScaffoldWithNavbar widget that includes the BottomNavigationBar and handles navigation between different branches.
import 'package:flutter/material.dart';
import 'package:go_router/go_router.dart';

class ScaffoldWithNavbar extends StatelessWidget {
  const ScaffoldWithNavbar(this.navigationShell, {super.key});
  final StatefulNavigationShell navigationShell;

  @override
  Widget build(BuildContext context) {
    return Scaffold(
      body: navigationShell,
      bottomNavigationBar: BottomNavigationBar(
        currentIndex: navigationShell.currentIndex,
        items: const [
          BottomNavigationBarItem(icon: Icon(Icons.shop), label: 'Shop'),
          BottomNavigationBarItem(icon: Icon(Icons.home), label: 'Home'),
        ],
        onTap: _onTap,
      ),
    );
  }

  void _onTap(index) {
    navigationShell.goBranch(
      index,
      initialLocation: index == navigationShell.currentIndex,
    );
  }
}
This widget leverages the navigationShell to dynamically switch between branches, ensuring that the app's navigation state remains consistent across user interactions.
Securing routes in Flutter apps is crucial for a personalized and secure user experience. GoRouter offers an efficient way to guard specific routes from unauthorized access, such as keeping unauthenticated users away from member-only content. This guide explains how to set up route guards using the redirect callback in GoRouter for Flutter navigation.
To protect certain routes and redirect unauthenticated users to a login page, you can use the redirect callback provided by GoRouter. This functionality allows for dynamic navigation control based on the user's authentication status.
A global redirect can be set up directly within the GoRouter constructor. This is executed before any navigation event, making it ideal for app-wide authentication checks.
GoRouter(
  redirect: (BuildContext context, GoRouterState state) {
    final isAuthenticated = // Your logic to check if the user is authenticated
    if (!isAuthenticated) {
      // Redirect unauthenticated users to the login page
      return '/login';
    } else {
      // Return null to proceed with the intended route for authenticated users
      return null;
    }
  },
  ...
)
Alternatively, you can define redirects on specific GoRoute constructors. This method is called when a navigation event is about to display the route, allowing for finer control over access to certain parts of your app.
GoRoute(
  path: '/member-only',
  redirect: (BuildContext context, GoRouterState state) {
    final isAuthenticated = // Your logic here
    if (!isauthenticated) {
      // Redirect to login if user tries to access a protected route
      return '/login';
    }
    return null; // No redirect for authenticated users
  },
  builder: (BuildContext context, GoRouterState state) => MemberOnlyPage(),
)
To prevent infinite redirect loops, GoRouter allows you to specify a redirectLimit. The default limit is set to 5, after which GoRouter will display an error screen if the limit is exceeded. Adjusting this limit can help fine-tune the navigation flow and ensure a smoother user experience.
GoRouter(
  redirectLimit: 10, // Adjust the redirect limit as needed
  ...
)
GoRouter stands out as a dynamic navigation solution in Flutter, offering extensive customization options, including transition animations and comprehensive error handling capabilities. This guide delves into configuring custom animations for screen transitions and implementing a custom error page for an optimized user experience.
Customize the navigation transition between screens by specifying a pageBuilder parameter in the GoRoute constructor. This feature enables the creation of a seamless and visually appealing user journey within your application.
GoRoute(
  path: '/fruit-details',
  pageBuilder: (context, state) {
    return CustomTransitionPage(
      key: state.pageKey,
      child: FruitDetailsScreen(),
      transitionsBuilder: (context, animation, secondaryAnimation, child) {
        // Custom fade transition with CurveTween
        return FadeTransition(
          opacity: CurveTween(curve: Curves.easeInOutCirc).animate(animation),
          child: child,
        );
      },
    );
  },
),
GoRouter provides default error screens suitable for both MaterialApp and CupertinoApp, alongside a fallback for other scenarios. Enhance error handling by replacing the default error screen with a custom implementation using the errorBuilder parameter:
  /* ... */
  errorBuilder: (context, state) => ErrorPage(state.error),
);
GoRouter supports the addition of NavigatorObserver to monitor and respond to navigation events, such as push, pop, and replace actions. Implement a custom observer by extending NavigatorObserver:
  @override
  void didPush(Route<dynamic> route, Route<dynamic>? previousRoute) {
    log('did push route');
  }

  @override
  void didPop(Route<dynamic> route, Route<dynamic>? previousRoute) {
    log('did pop route');
  }
}
Incorporate your MyNavigatorObserver into GoRouter to receive notifications on navigation events:
  ...
  observers: [ // Include NavigatorObservers to track navigation changes
    MyNavigatorObserver(),
  ],
...
)
By leveraging GoRouter's capabilities for custom transition animations, error handling, and navigation observation, Flutter developers can create a more engaging, intuitive, and robust navigation experience. GoRouter not only simplifies navigation complexities but also offers the flexibility needed to tailor the user experience to your app's unique requirements.
Enter your email to receive our latest newsletter.
Don't worry, we don't spam


Streamlining Declarative Routing for Flutter Apps


